

Everything Else


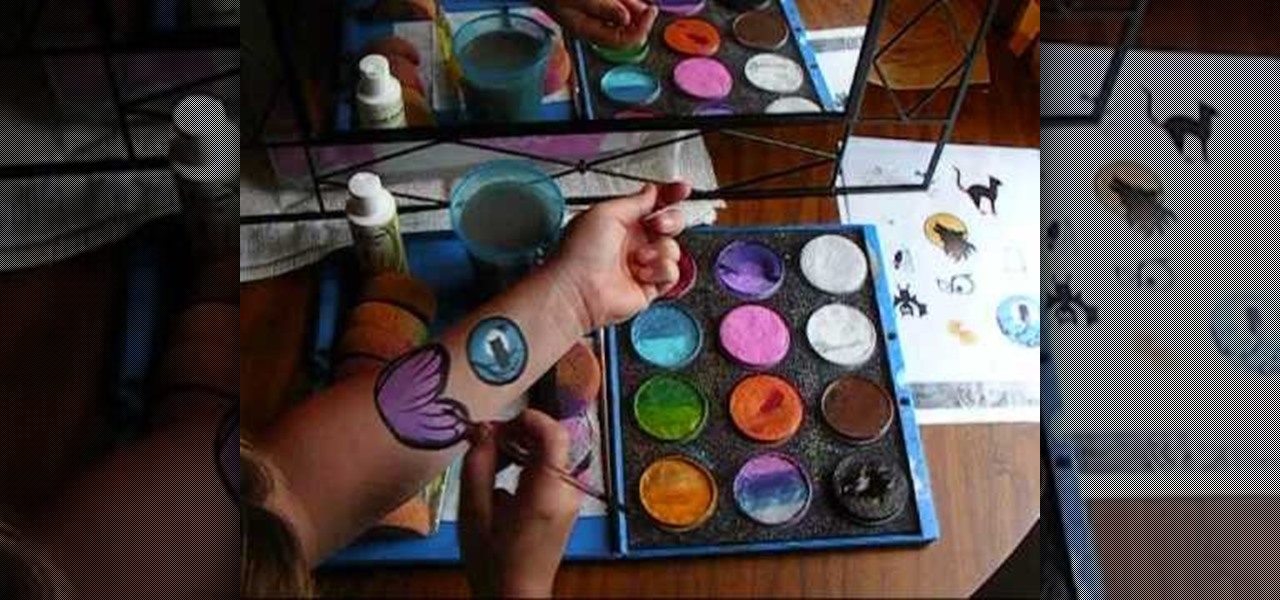
How To: Mix face paints with water
In this video, we learn how to mix face paints with water. First, you will dip your brush into water and then dip it into the paint color you want. Now, paint on your body where you want that color to do. When finished, place the brush into the water and swish it around until clean, then dip the brush into a new color and continue painting on your body with new brushes, cleaning them as you go. To use a sponge, dip the tip of the sponge into the water, then rub it into the paint color you des...
How To: Do Batman face paint
In this video, we learn how to do Batman face paint. First, you will need to apply a metallic silver paint to make a mask Batman design around the eyes. Next, use a fine tip brush to paint black for the outline around the Batman design. You may need to have the logo printed out by you so you know how to paint it. Next, draw a circle around each of the eyes, then you will have the completed Batman face paint! This is great for children and is extremely easy to do. This is great for parties and...

How To: Face paint a snake design
In this video, we learn how to face paint a snake design. First, dip a paintbrush into dark green paint and place it on the forehead. Bring the brush down in a snake shape until you reach the cheek. Make a lump at the bottom of the snake followed by a small line for the tail. After this, dip a different brush into white and make a small dot on the face to make eyes, then make two teeth fangs. Also fill in the bottom to make the rattle on the bottom of the tail. Next, use red to make a snake t...
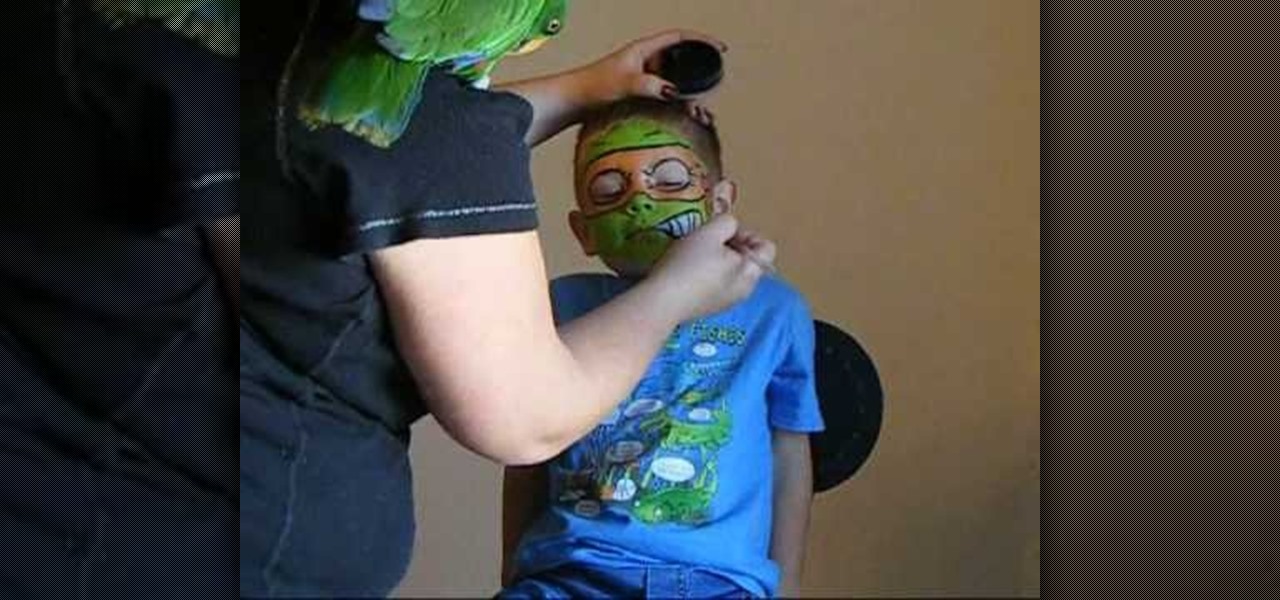
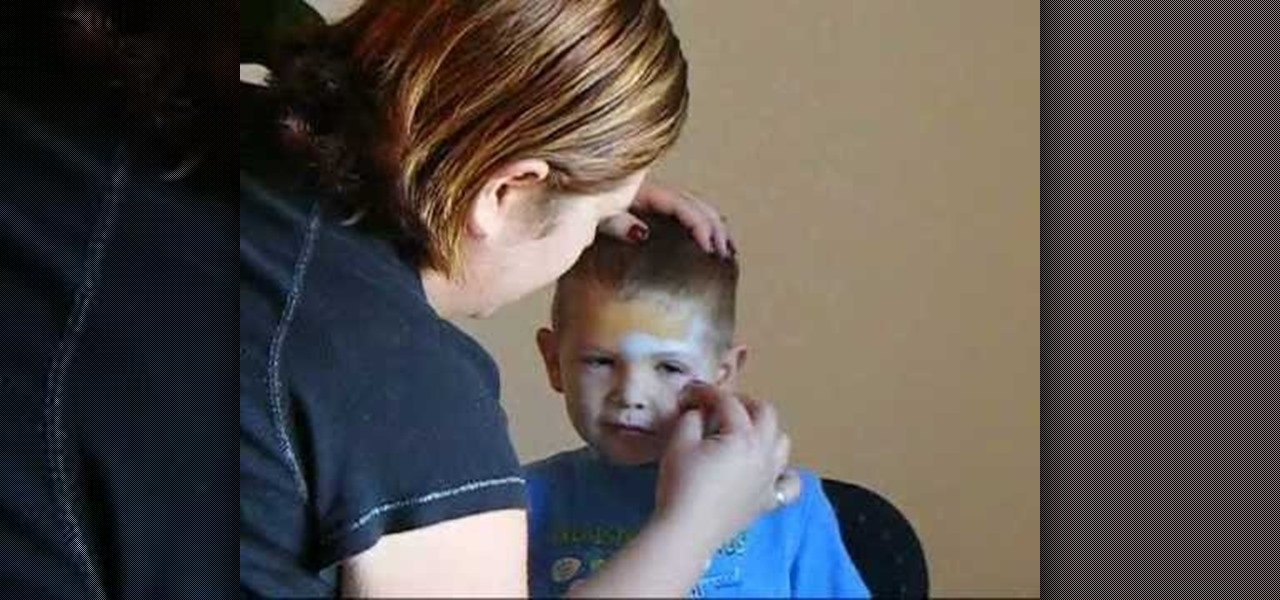
How To: Face paint the Teenage Mutant Ninja Turtle Michelangelo
We are painting the ninja turtle-Michelangelo. Use orange metallic to cover over face. Put orange metallic around the eyes and ears. Use green metallic on forehead and across the nose, chin, mouth and cheeks. Use white close to the mouth for smile and teeth. Take black paint and give a bandit face. Outline the eyes, forehead. Place wrinkles around the eyes and make knots on the side of the face to make it look like a tie. Make the ninja turtle mouth smile.
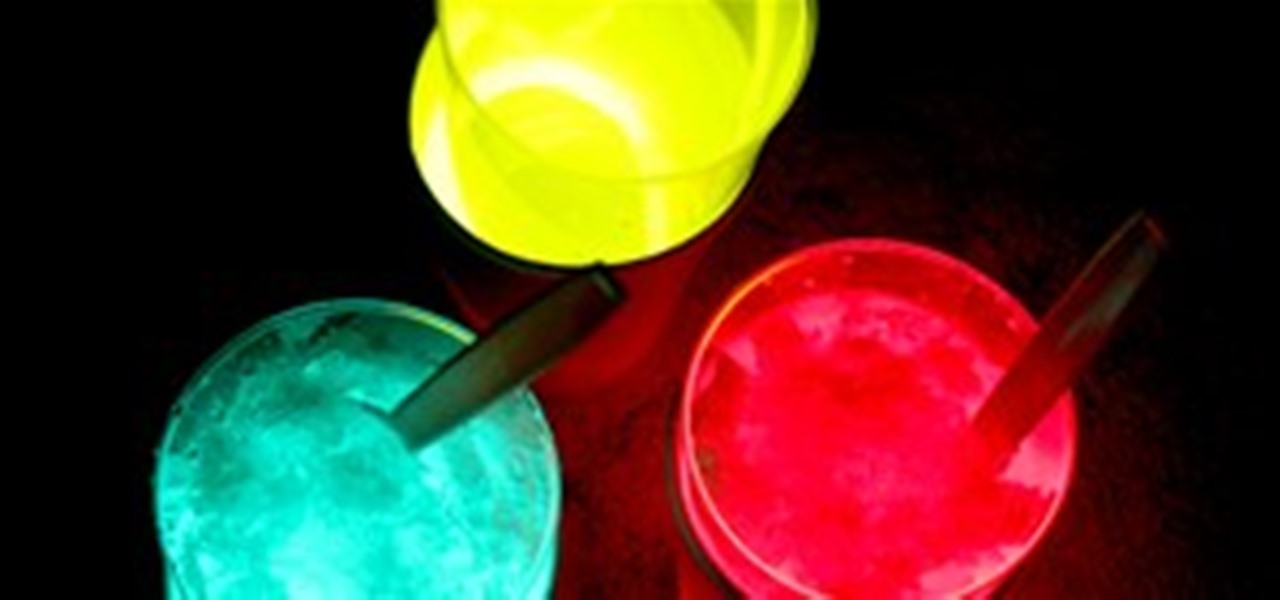
HowTo: Glow-in-the-Dark Sno Cones
Kool-aid + Sno Cones + LEDs. For some of us (e.g. small kids), it doesn't get much better than that.
How To: Craft a lizard out of foam & pipe cleaner
In this video, we learn how to craft a lizard out of foam and pipe cleaner. First grab your piece of foam and poke a hole into the front of it going through it, then through the back going all the way through. Next, poke the pipe cleaner through the holes so it looks like four legs. After this, poke a hole in the back to string the tail through. Poke a hole through the front and place a red pipe cleaner inside of it with a curl at the end to make it look like the tongue. To finish, draw on tw...
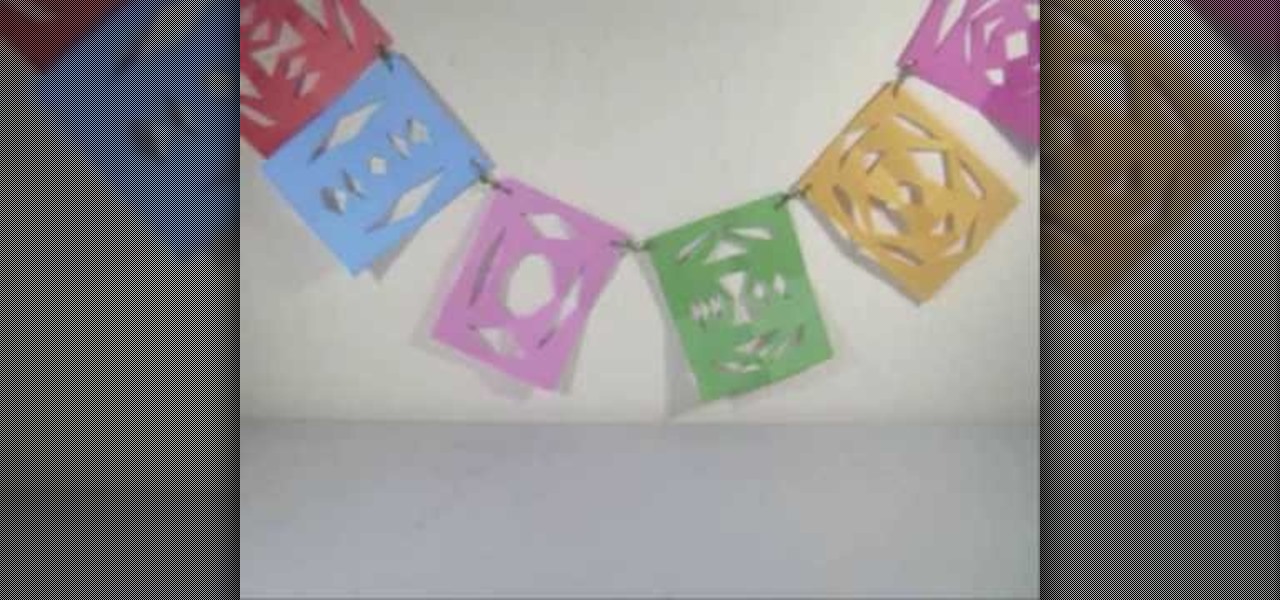
How To: Craft a colorful paper banner with your kids
In this video tutorial, viewers learn how to make a colorful paper banner. This task is very easy, fast and simple to do. The materials required for this project are: construction paper, yarn, scissors and a hole puncher. Begin by folding the construction in half. Then fold it in half on again. Now cut pattern on the side edge of the paper and repeat this process for additional paper. Open the paper to reveal the symmetrical cut out pattern. This video will benefit those viewers who are inter...
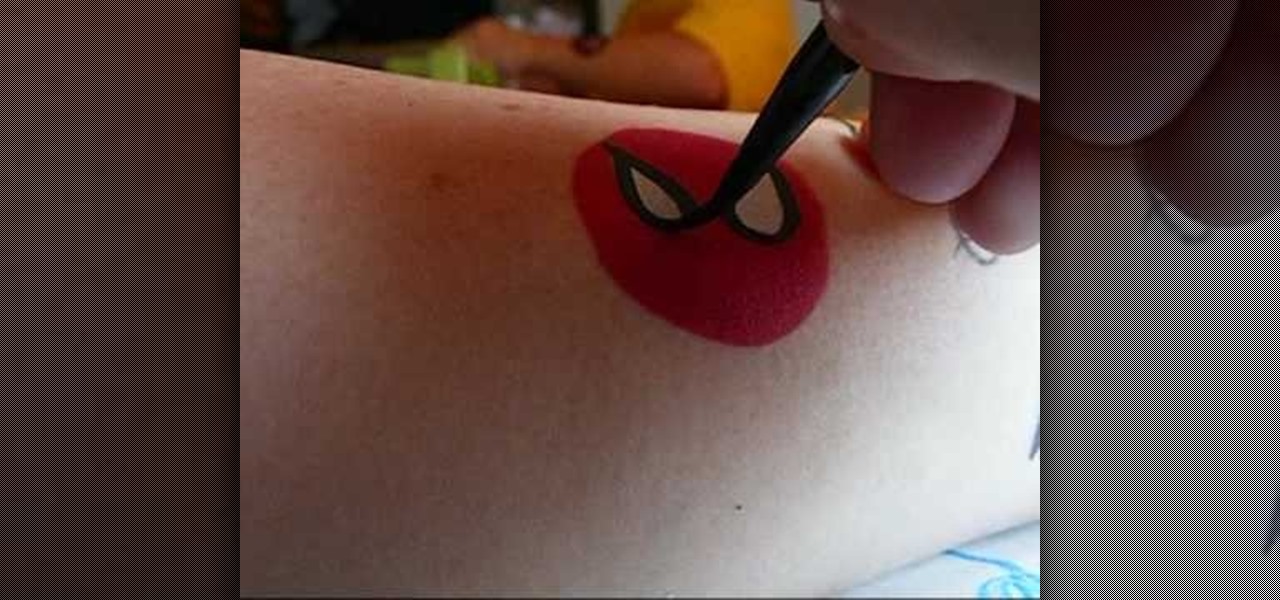
How To: Make 5 easy face or body paint designs
In this video, we learn how to make five easy face or body paint designs. First, to make a shooting star, grab a sponge and apply your paint to the edge of it. You will want to paint three colors next to each other on the edge of the sponge. Now, drag this across the skin and make a point at the end, then paint on a star. Next, to make a flower you will paint four hearts that are all touching with their points in the middle, then paint on leaves by swiping the brush sideways. To paint Spiderm...
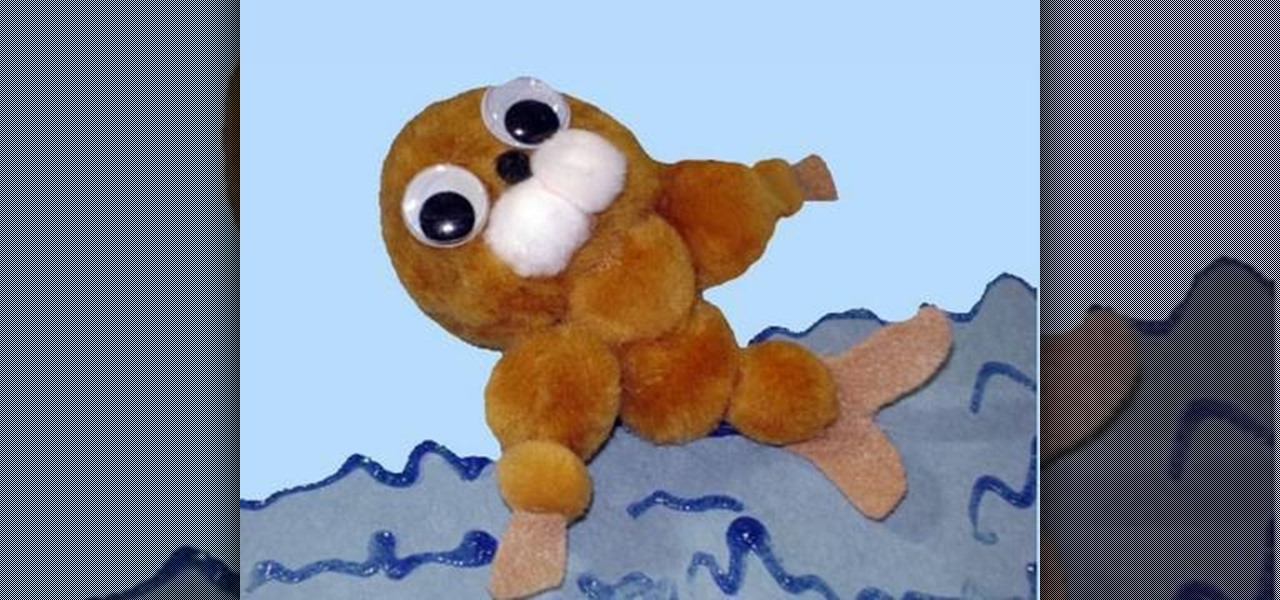
How To: Craft a pom-pom seal with your kids
In this video tutorial, viewers learn how to make a pom pom seal. The materials required for this project are: 1 large brown pom pom, 4 medium brown pom poms, 3 small pom poms, 2 white pom poms, 1 small piece of brown felt, 2 googly eyes, glue and scissors. Begin by gluing the brown pom poms together. The large pom pom is the head, 4 medium pom poms are the body and 2 small pom poms are the hands. Then glue the 2 white pom poms and mini black pom pom on the head for the mouth and nose. Glue t...
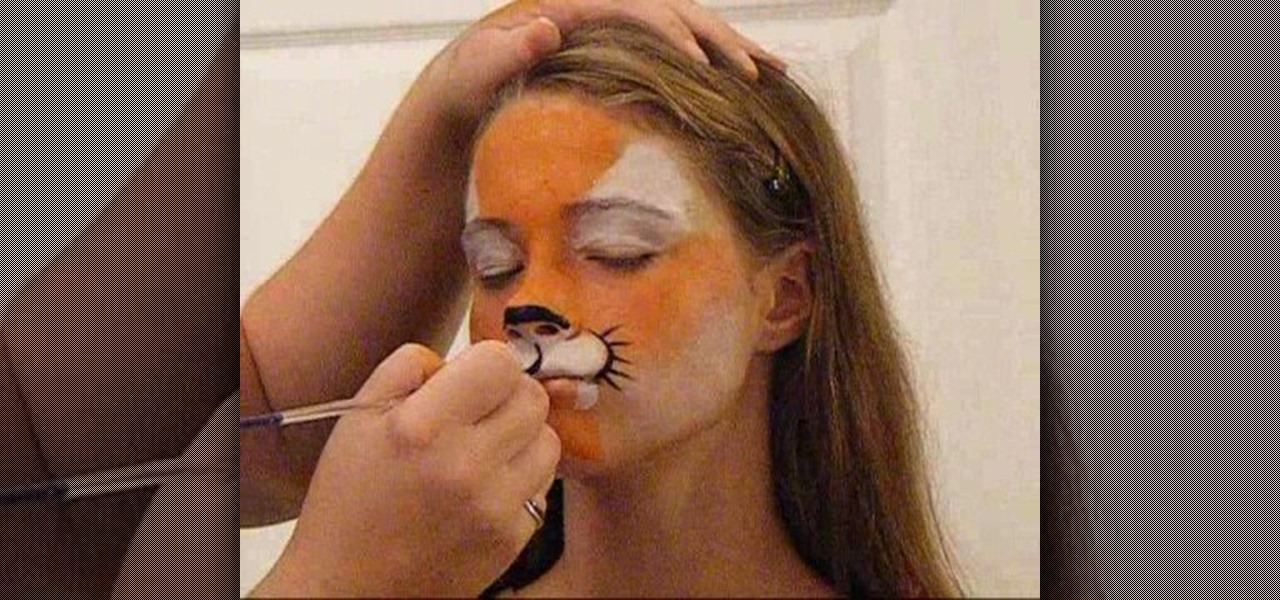
How To: Do tiger face paint in two minutes
In this video, we learn how to do tiger face paint in two minutes. This is a simple tiger, so it will be perfect for family outings or something you need done quickly. First, use a sponge and orange paint to paint the middle of the face orange. After this, use a sponge with white paint to make the eyes white and the section underneath the nose white. Now, take your orange paint again and paint the cheeks and chin orange. Use the white paint to make fangs on the lips going down to the chin. Ne...
How To: Make a sun catcher with your kids
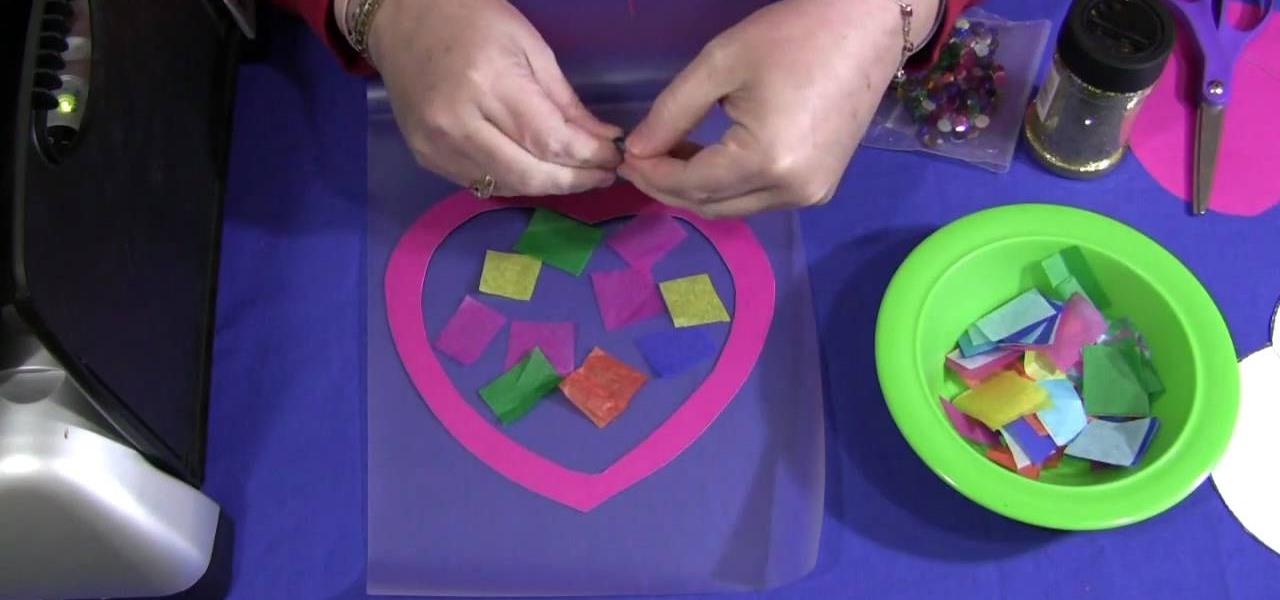
In this video, we learn how to make a sun catcher with your kids. First, you need laminating paper, two paper hearts, and scissors. First, cut the center of one heart out by sticking your scissors in and making your way around the heart. Next, place the outline of the heart inside of the laminating pouch, then decorate the inside of it how you prefer. You can use whatever you want to decorate the inside, including: glitter, crayon shavings, tissue paper, etc. Next, place the paper inside of a...
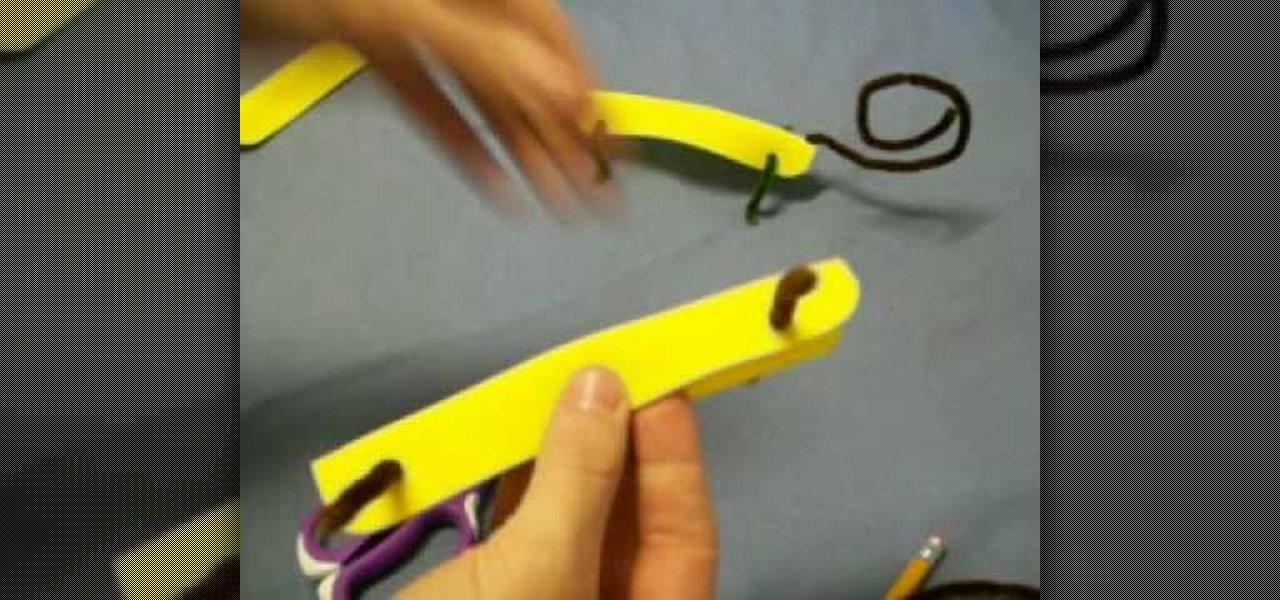
How To: Craft a homemade jump rope with your kids
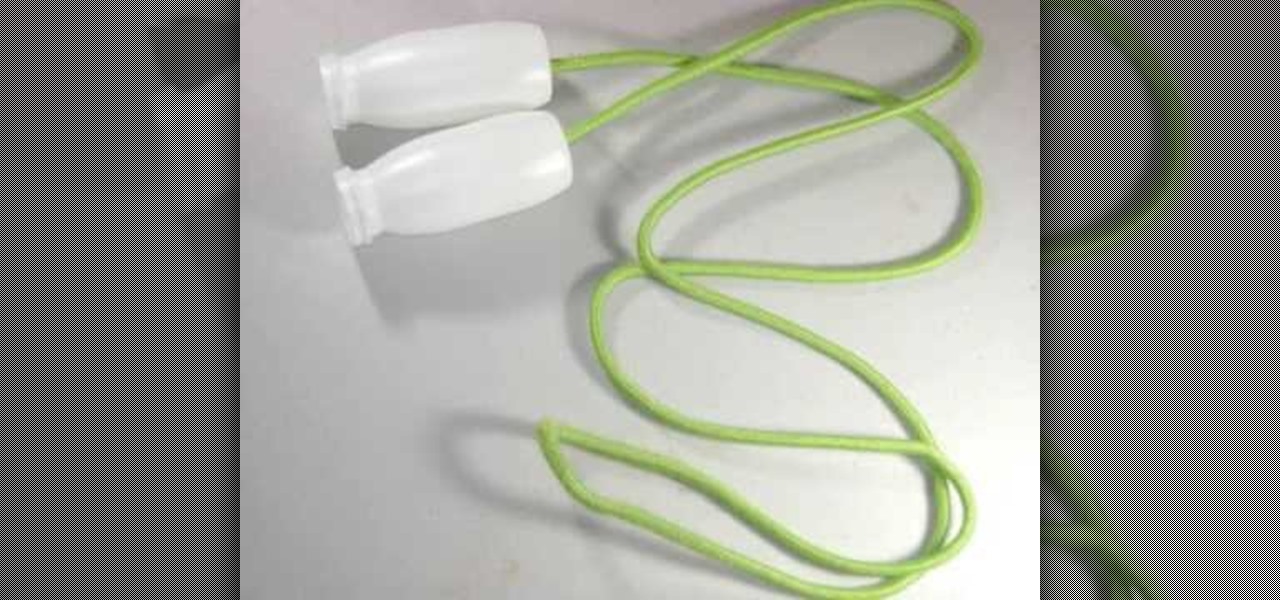
In this video, we learn how to craft a homemade jump rope with your kids. You will need: 2 think plastic containers, a heavy rope, and scissors. First, take your plastic containers and cut a hole in the bottom of each of them with the scissors. After this, place your rope through the inside of each one. Tie a knot at the end of each side of the rope so it's thick enough that it won't go through the hole you just made. After this pull the rope down and now you will be able to use it as a jump ...

How To: Make a lava lamp as a cool science experiment for kids
In this Family video tutorial you will learn how to make a lava lamp as a cool science experiment for kids. For this project you will need food coloring, water, vegetable oil and antacid pills. Take a bottle and fill quarter of the bottle with water. Fill up the rest of the space with oil. The water and oil will remain separate. Now drop food coloring in to the bottle. Each color will behave differently. For example, green settles at the bottom, yellow stays in the middle, red dissolves right...
How To: Make a thumbprint butterfly clay pot with your kids
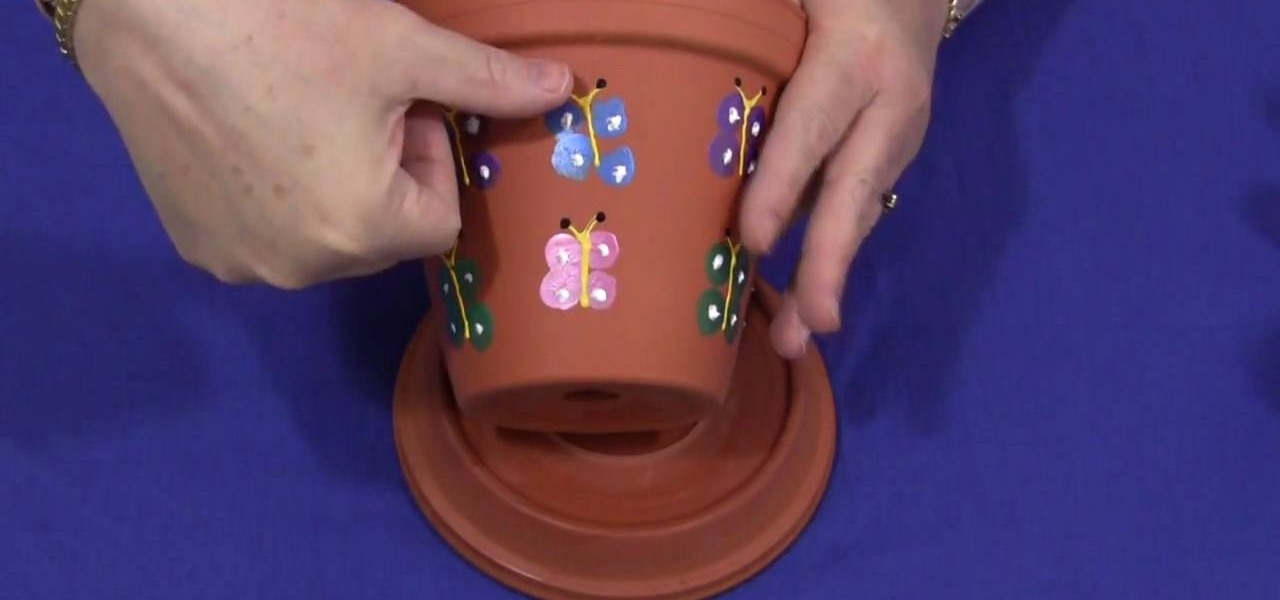
Shelley Lovett teaches us how to make a thumbprint butterfly clay pot in this tutorial. First, start off with a medium sized clay pot and several different colored paints. To make the butterflies, have your kids dip their thumbprint into paint and make a butterfly. Make two thumbprints on each side of the butterfly body. Use a paintbrush to paint in the body and head of the butterfly. When finished, use a sealer to secure the paint on the pot, then let dry completely. You can now use these po...
How To: Craft a bug barn or bug habitat with your kids
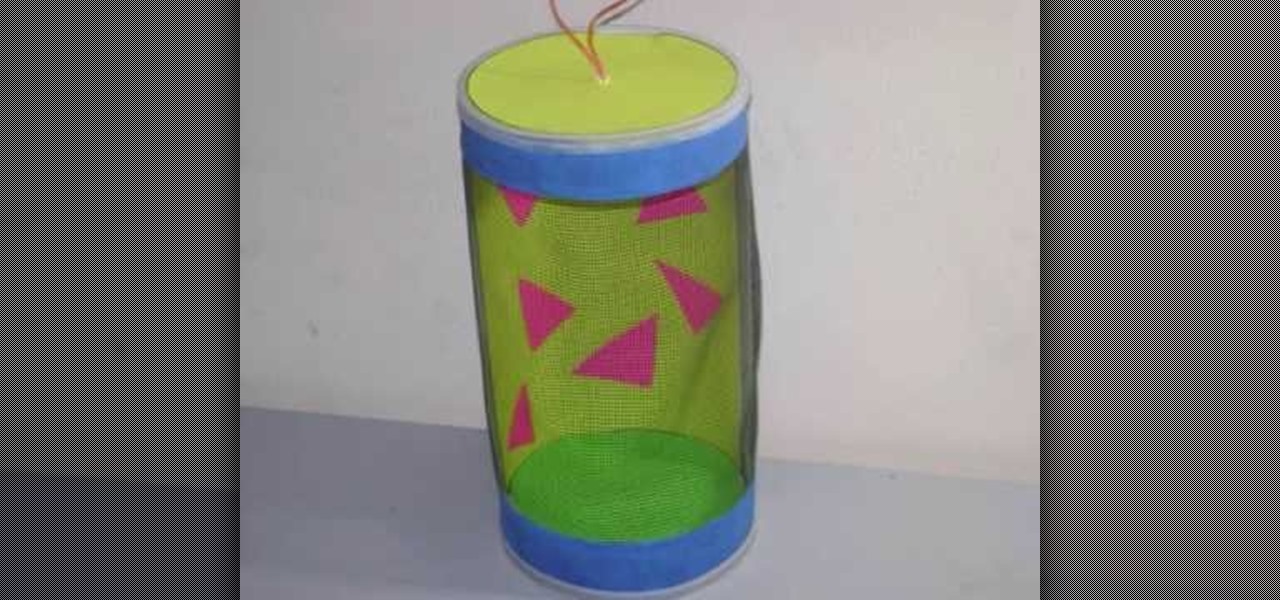
In this tutorial, we learn how to craft a bug barn or bug habitat. You will need: 1 Quaker oat box, masking tape, paint, mesh netting, poster board, ribbon, scissors, and a paint brush. First, cut one side of your box out and apply mesh over it with masking tape. Now, paint over the paint and over the entire box with your preferred colors. After this, decorate the inside of the box with paper. Cut a hole in the top of the box and place a string at the top to easily take it off. When finished ...
How To: Craft a magnet boat with your kids
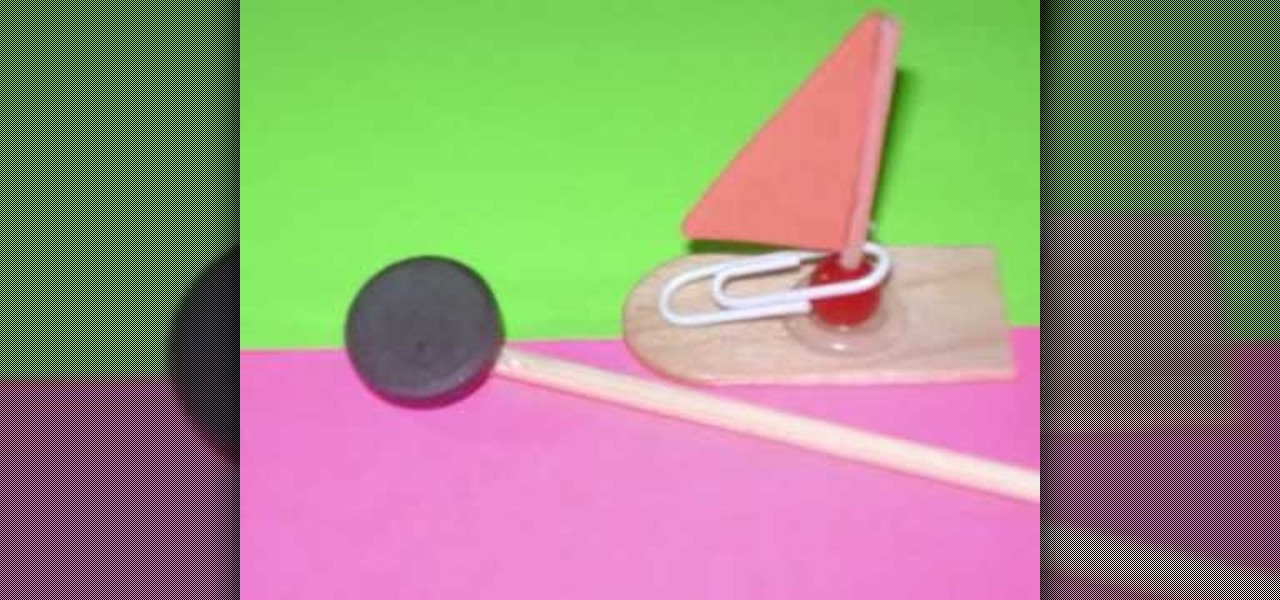
In this video, we learn how to craft a magnet boat with kids. You will need: a paper clip, a small triangle piece of foam, 1 magnet, 1 recycled stick, 1 recycled popsicle stick 1 bead, and a hot glue gun. First, attach the toothpick to the bead, then glue the triangle to the top of the toothpick. Next, cut 1/4 of the popsicle stick and attach the sail to the middle of the popsicle stick and use the paperclip the make it stay on the bow. Now, place the boat in water and attach a magnet to the ...
How To: Make a fairytale princess hat with your kids
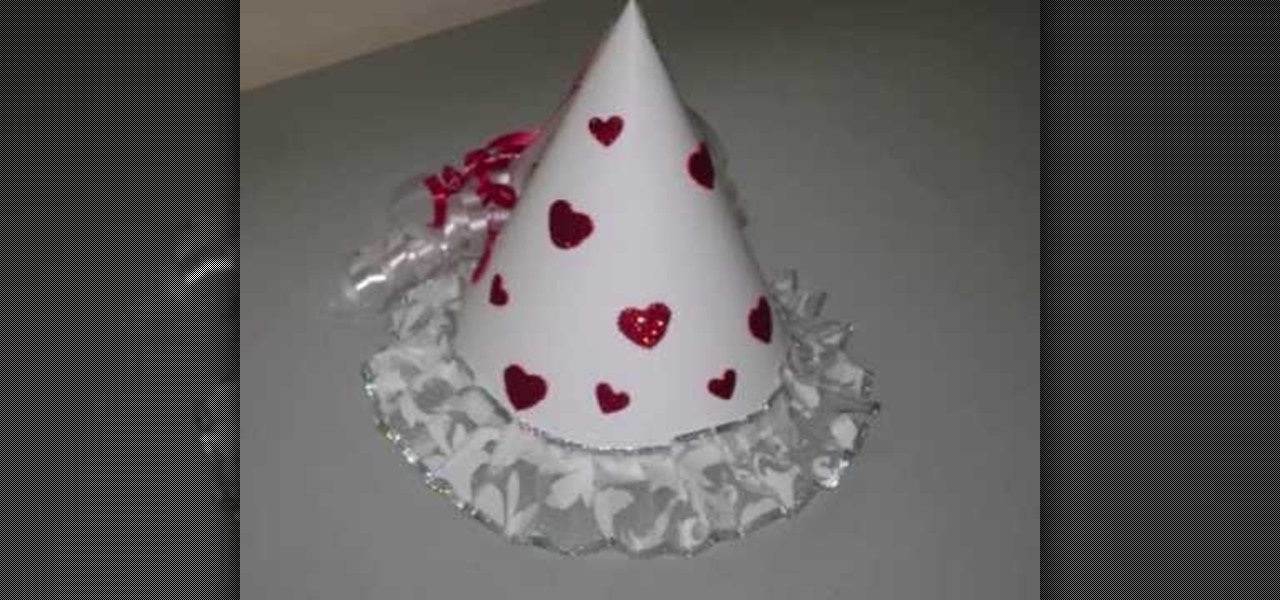
In this video tutorial, viewers learn how to make a fairy princess hat. The materials required for this project are: white cardboard/postcard, glitter stickers, glue, white lace/ribbon, red and white thin plastic ribbons and scissors. Begin by folding the white cardboard into a cone shape and glue it together. Trim the bottom of the cone. Then scrunch the lace ribbon to an accordion style fold and glue it to the bottom of the cone. Now decorate the cone with stickers or paint. Then glue the r...

How To: Craft a lily flower out of paper & pipe cleaner
In this tutorial, we learn how to make a lily out of paper and pipe cleaner. First, lay your hand flat on a piece of copy paper. Next, trace your hand with a pen or pencil, then cut it out with scissors. Now use a pencil or pen to curl the ends of the fingers you just cut out. After this, combine two pieces of gold pipe cleaner together and bend in half. Then, place a green pipe cleaner in the middle and make a twist to keep in place. To finish, wrap your paper hand cut out around the gold pi...

How To: Craft felt frog puppets with your kids
In this Family video tutorial you will learn how to craft felt frog puppets with your kids. The materials you will need for this are felt (pink, dark and light green), a piece of red lace, 2 large white pompoms, 2 small black pompoms, scissors, glue and marker. Take two layers of dark green felt and draw out the outline of half of the left palm. Fold the felts in half and cut out the outline. Stick the two pieces along the edges to make a glove. Next cut a rectangular piece out of the light g...
How To: Craft a potato container car with your kids
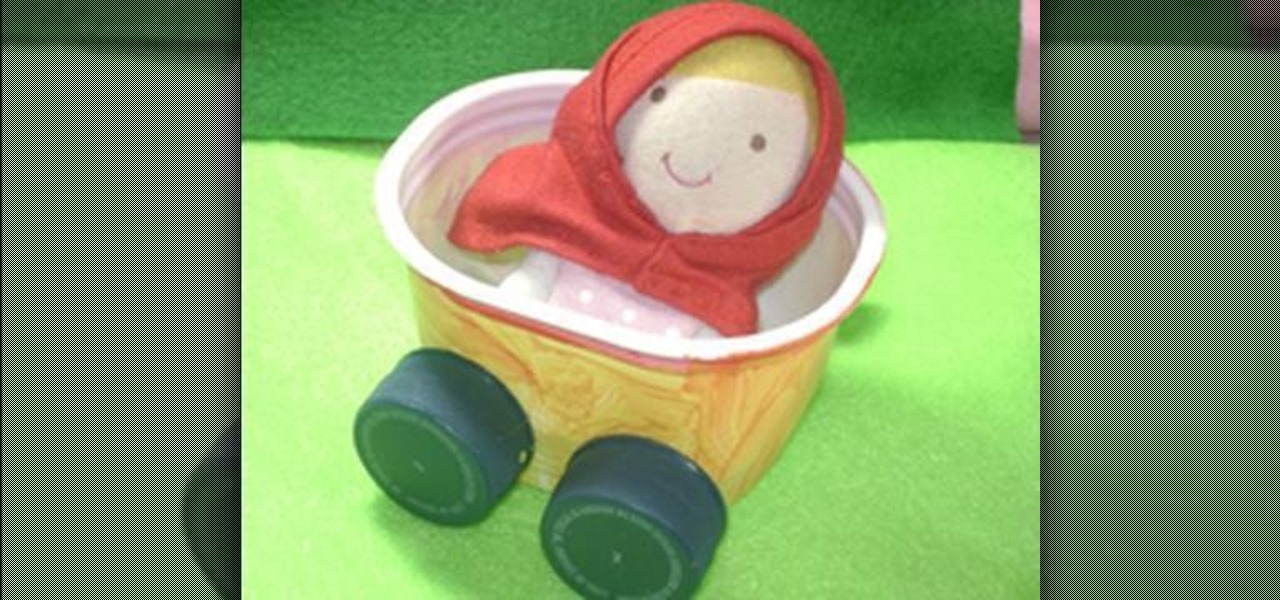
In this video tutorial, viewers learn how to make a recycled potato container car. The materials required for this project are: a recycled potato chips, half of a skewer stick, 4 recycled plastic soda caps, glue and a sharp pencil. Users may also need paint, brush and string. Begin by peeling off the label of the container and poke 2 holes on each side of the container. Then apply glue onto 2 of the caps attach them onto the ends of a skewer. Now put the skewers through the holes of the car a...
How To: Craft a penguin out of pipe cleaners
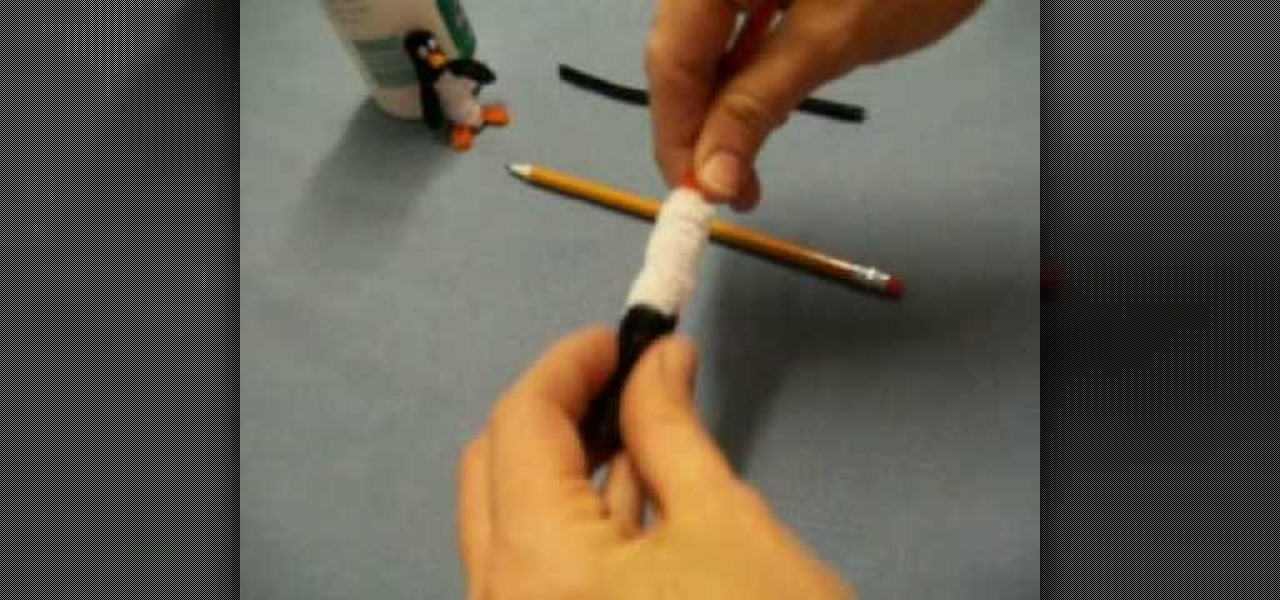
In this tutorial, we learn how to craft a penguin out of pip cleaners. First, grab a pencil and wrap white pipe cleaner around the top. Now, wrap black around the pencil as well, and squish them both together. Slide them off, then take an orange pipe cleaner and fold it in half. About 2 rings from the top of the black, poke the orange through that will be the beak. On the bottom, twist the orange pip cleaner together to make penguin feet, then clip off any excess pipe cleaner. Now, take black...

How To: Make a carrot patch for Easter using an egg carton
In this video tutorial, viewers learn how to make a carrot patch. Begin by cutting out a egg carton with 4 egg holders. Then cover it with a green felt and staple the bottom. Now poke a hole in the center of each egg cup. Then fold a green 3 inch pipe cleaner in half and add 2 orange beans into the pipe cleaner. Bend the ends down and make 3 more carrots. Finish by inserting the 4 carrots into the 4 holes in the egg carton. This video will benefit those viewers who enjoy making arts and craft...
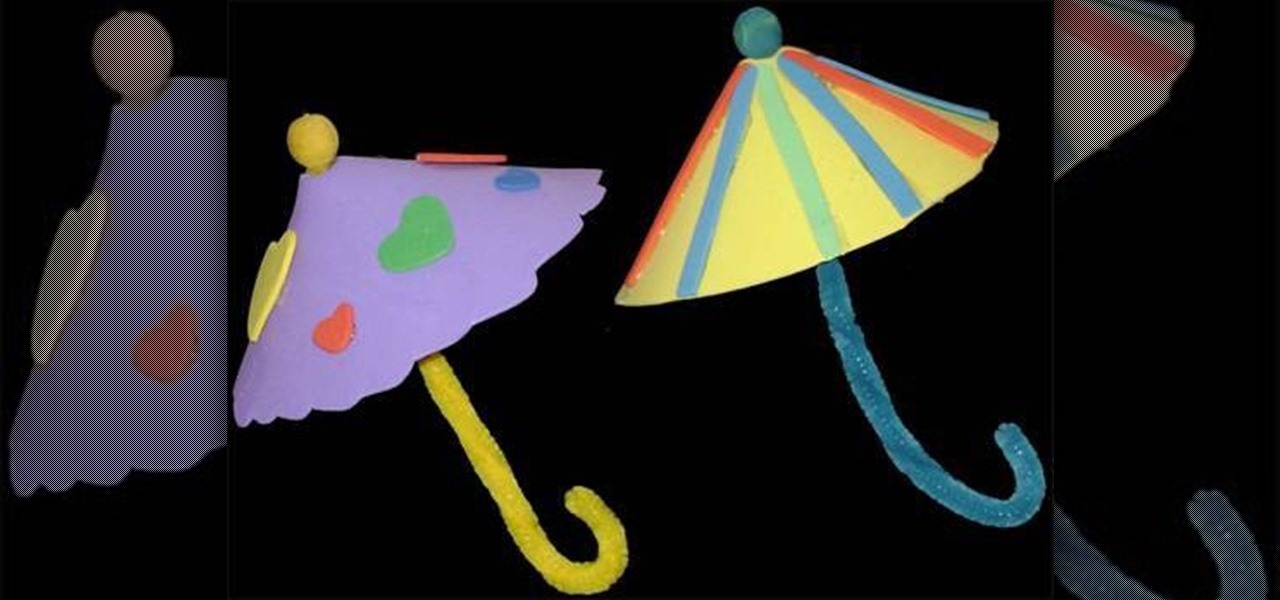
How To: Make simple small foam umbrellas with your kids
Small umbrellas are perfect for martinis and cocktails, but your kids don't have to know that. But this variation of the mini umbrellas aren't the kind you'd like to stick in your drink, but the kind your kids can have tons of fun with. They're cute, easy to make, and a fun afternoon of crafts with the kids. To see how to make these foam umbrellas, watch and learn. You'll need:
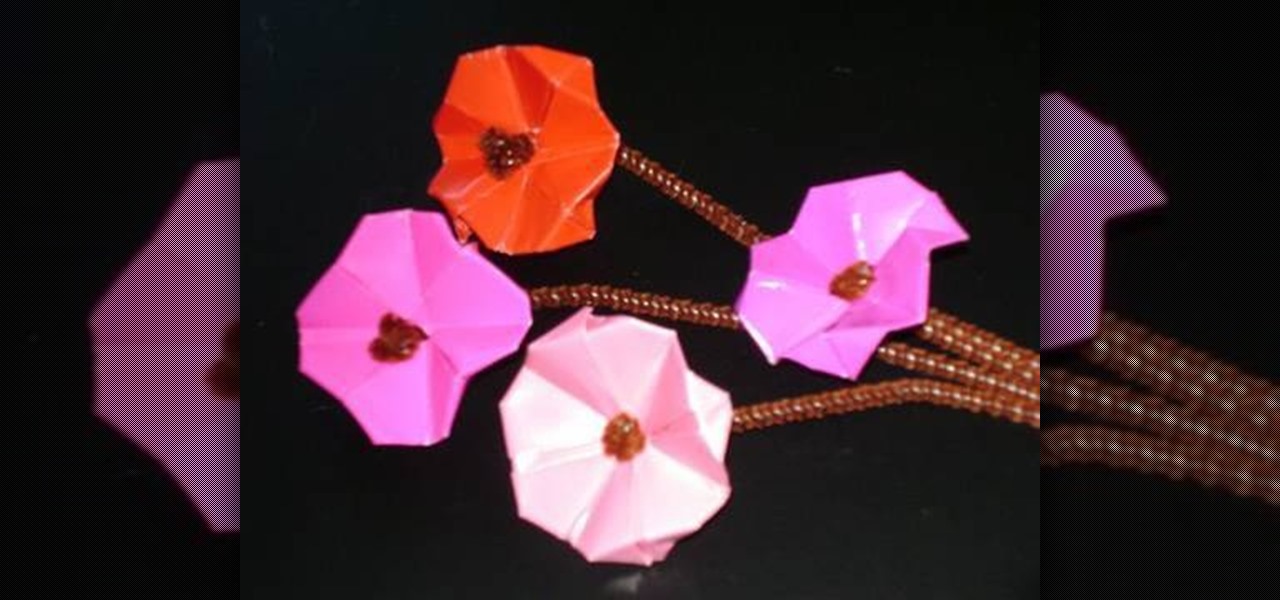
How To: Make simple paper cherry blossoms with your kids
Sakura. What is it? If you don't know, your kids probably don't know, but they will after you teach them the meaning behind the word while sitting down to an afternoon of craft making. the Sakura is the Japanese flowering cherry, and you can teach your young ones all about it as you help them make these cool paper cherry blossoms. Art can be both fun and educational! You'll need:

How To: Make a simple paper gift bag with your kids
When teaching your kids the art of crafts, it's good to throw in something useful every once in a while, something they can actually use and not just have fun with. A bag is the perfect solution. Everyone has a need for a bag, even kids. They can store all of their other paper crafts in there! Watch this video to learn how to make this paper gift bag… a gift for themselves! You'll need:
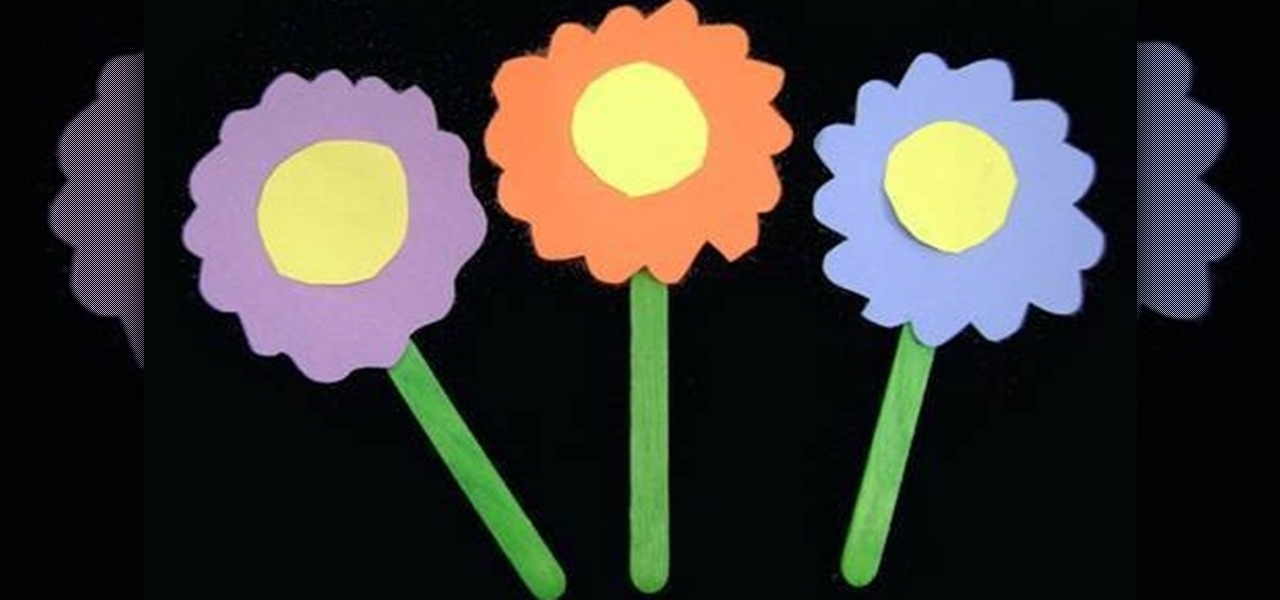
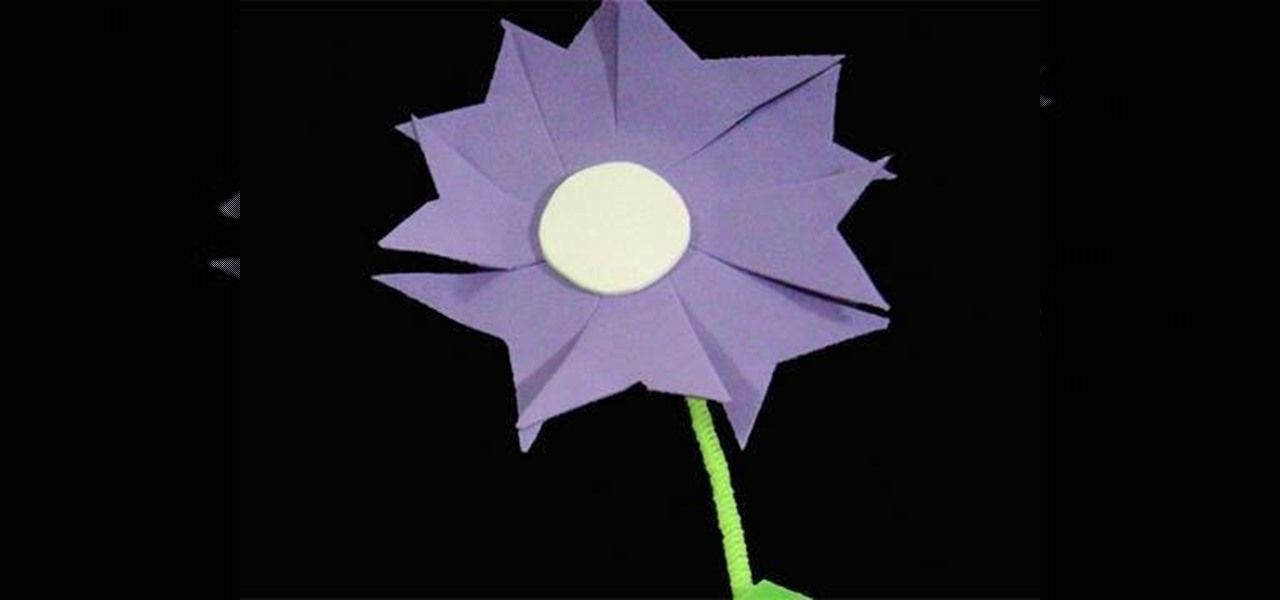
How To: Make simple paper flowers with your kids
If the foam calla lily is too advanced for your kids, and the foam violets are too much purple for the eyes, then try out these simple flowers. Make a whole bouquet of them with your kids! They are really simple to make, and only require these materials:
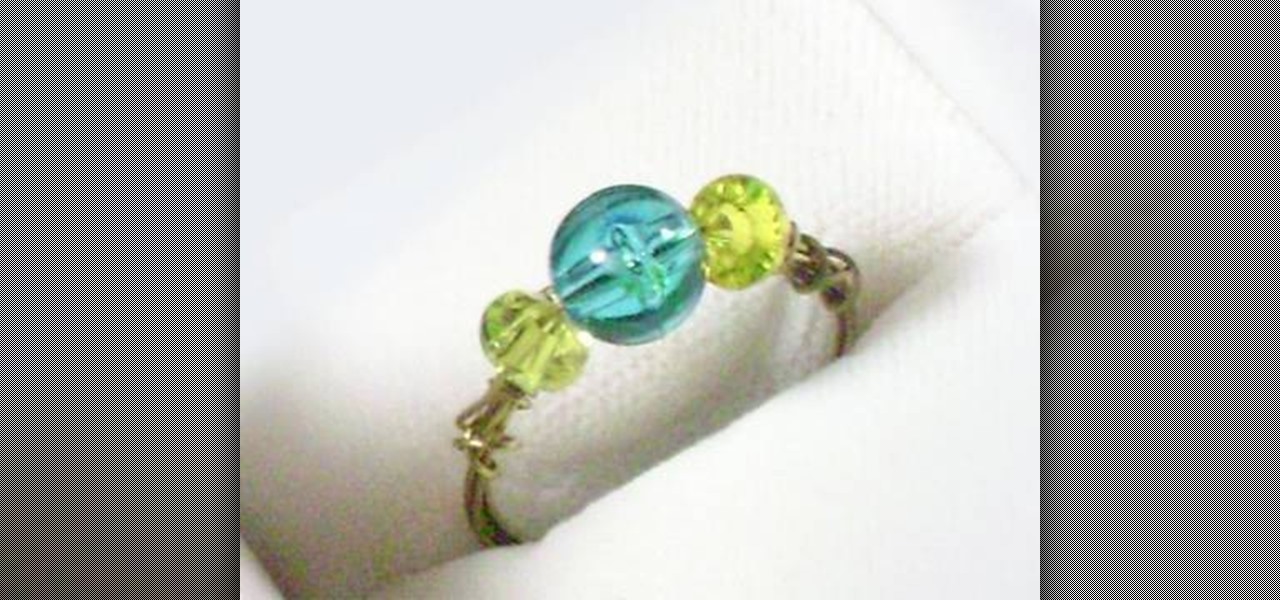
How To: Make a simple wire and beads ring with your kids
Jewelry making may be too advanced for your young ones, but these wire rings are the exception. It's the perfect project for your kids, and it's easy and fun. There's hardly any materials involved in making this wire rings, and your girls will wear them forever! At least, until they get a real wedding ring. Materials needed are:
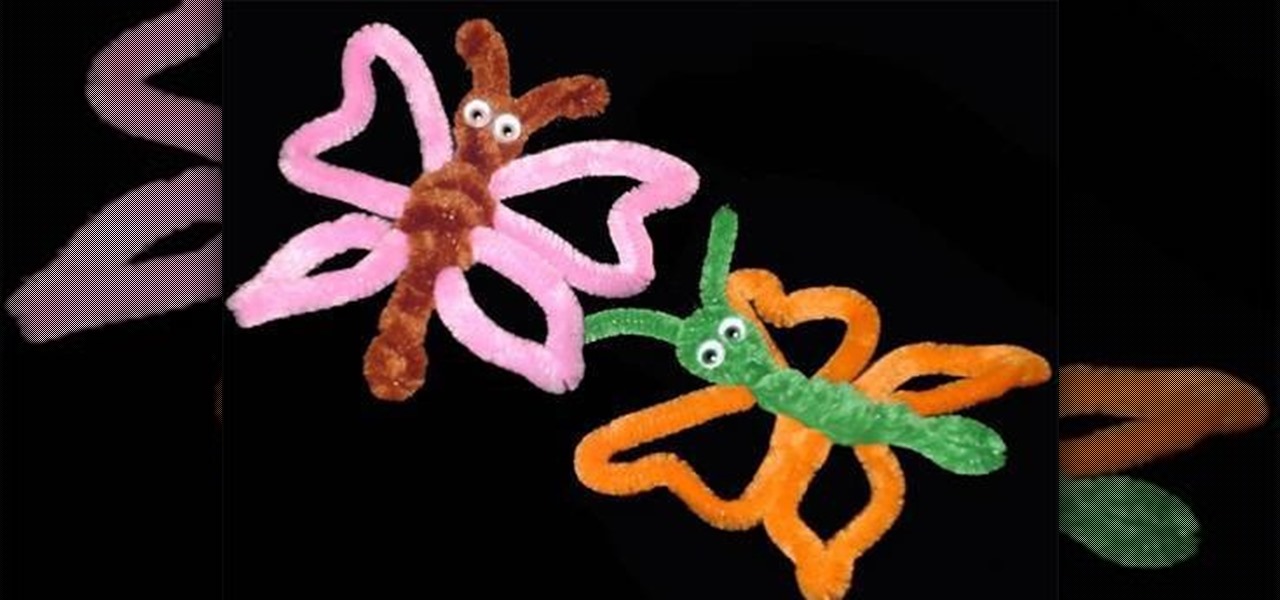
How To: Make pipe cleaner butterflies with your kids
Pipe cleaners are for more than just cleaning. They're a perfect craft item that can be used to make a variety of different things, thanks to their flexibility. And that's all you need to make some wonderful, colorful butterflies. A butterfly pipe cleaner is the perfect project for you and your kids! You will need:
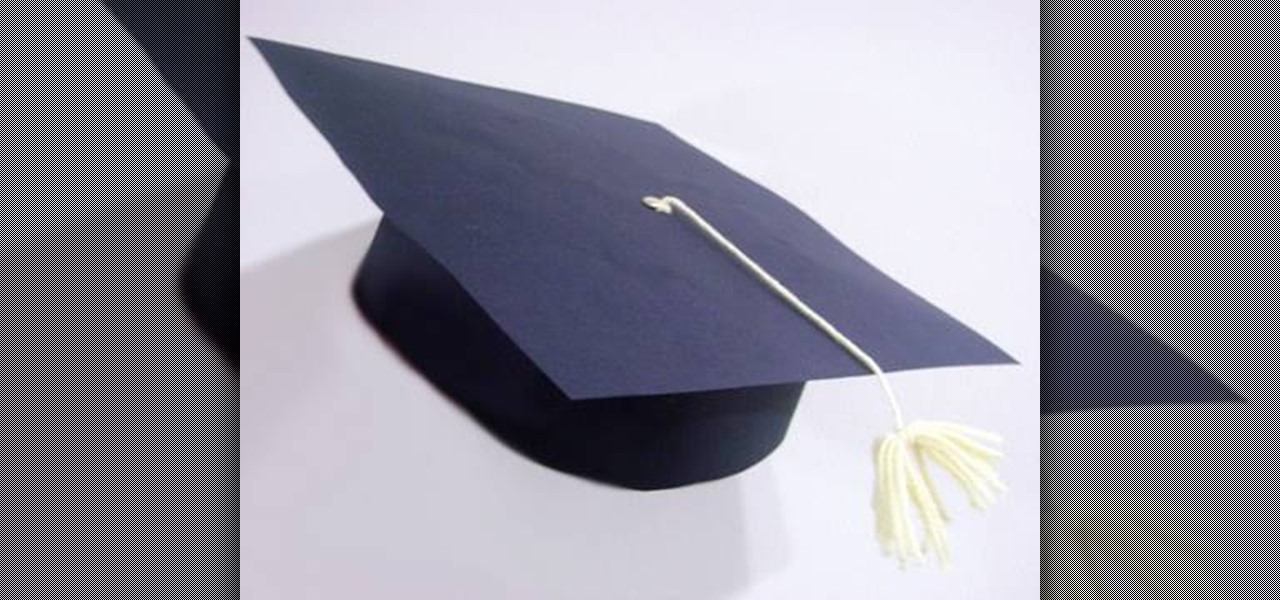
How To: Make a paper graduation cap with your kids
Okay, so it might be a long time before your young ones graduate from college, but getting them headed in the direction is as simple as having fun with them. This crafty paper gradation cap is perfect for an afternoon of fun with your kids, and it's easy to make. You only need:
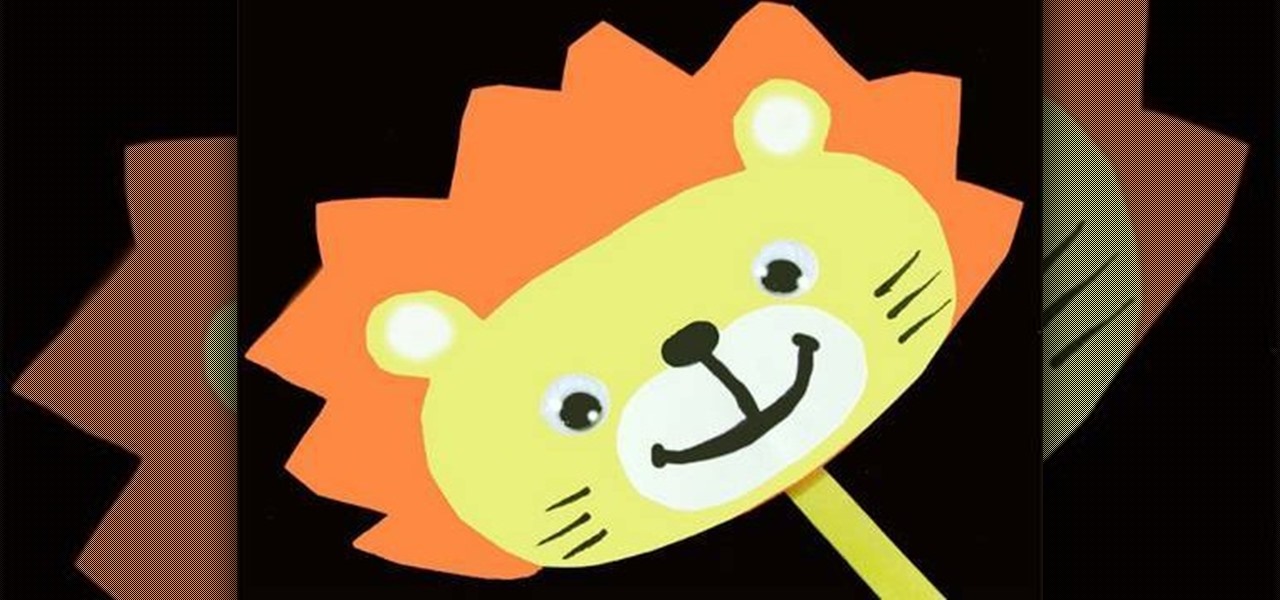
How To: Make a simple paper lion stick puppet with your kids
Even though this project seems easy for you, your kids will find it a challenge… a wonderful challenge that will keep them being creative. Their love of animals will keep them wanting more, and this lion stick puppet will give them tons of fun. See how to make the paper lion in this video. The materials needed are:
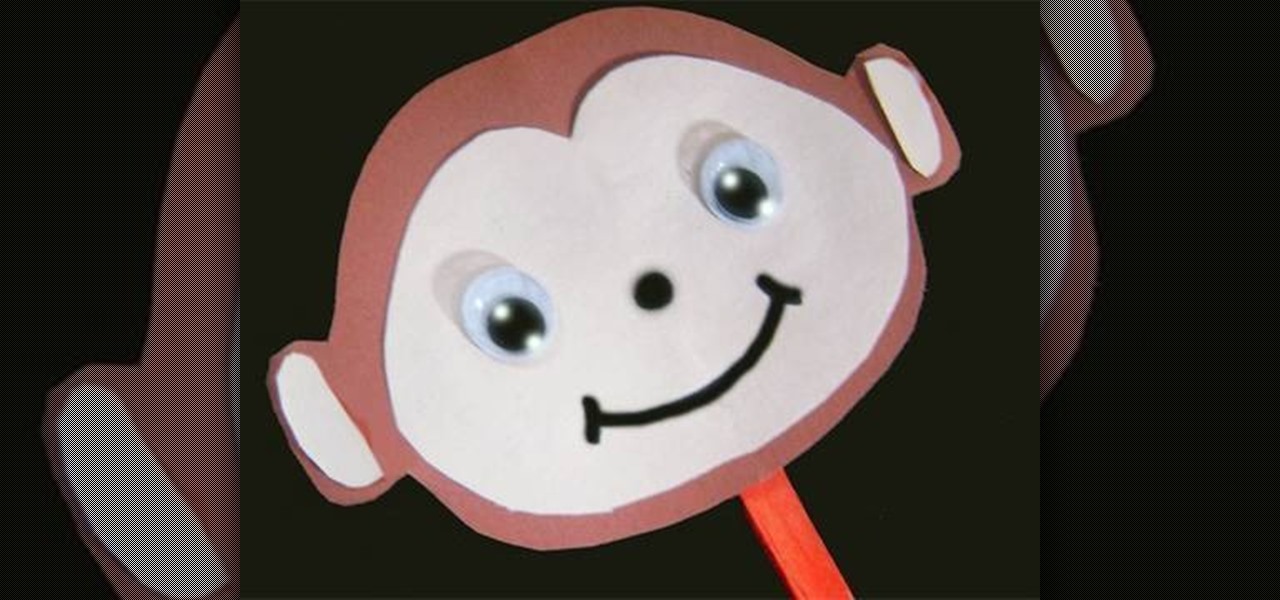
How To: Make a simple paper monkey stick puppet with your kids
Teaching your children a few homemade crafts is not only fun for you, but fun for them as well. It's a great way to spark their creativity, and animals are the way to their heart! This video will show you how you and your kids can make a simple paper monkey… a monkey stick puppet. You'll need:

How To: Make a simple paper cat stick puppet with your kids
No child can resist the art of stick puppets, especially when it's a cute, little, cuddly cat. This paper cat stick puppet is perfect for a afternoon of crafts with the kids. There's hardly anything involved in the making of this little kitten head. The materials needed are:

How To: Make a simple paper penguin with your kids
Although most people won't see a penguin in its natural environment, they're still a wonderfully captivating animal that the kids just can't get enough of. So, make sure you and your kids get over to the zoo and check some penguins out, then go home and create some penguins of your own. It could be made in a cold or hot climate! This penguin stick puppet is perfect for an afternoon of fun crafts with the kids. You'll need the following materials:
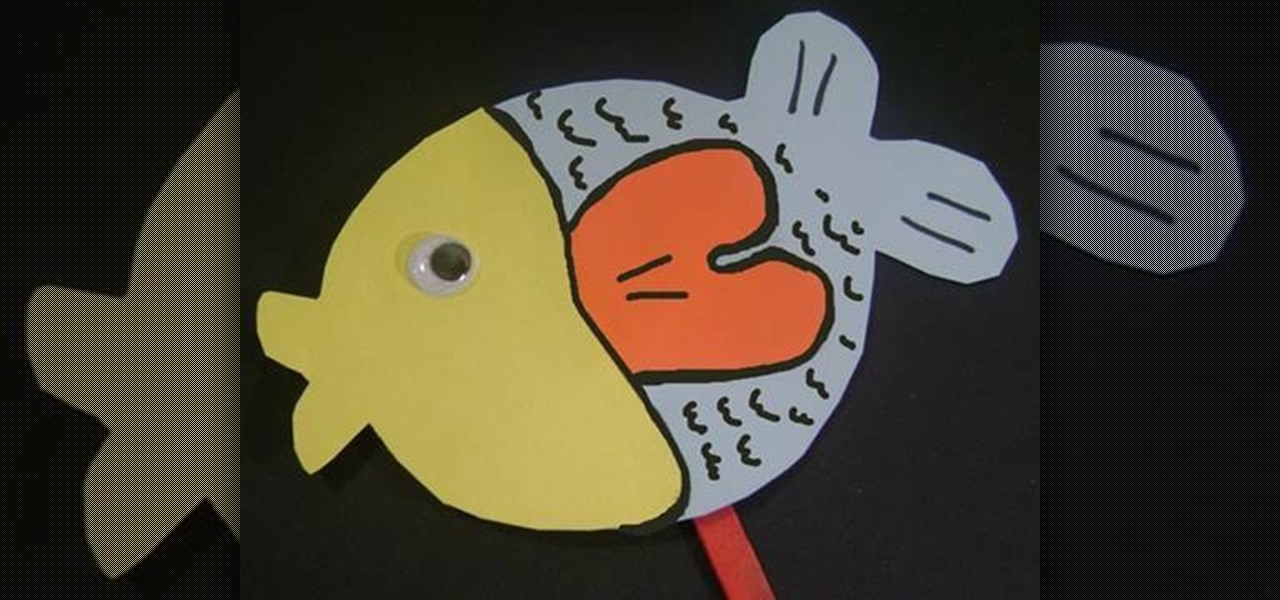
How To: Make simple paper fish with your kids
If you don't think an aquarium is quite right for your children, maybe some paper fish will do the trick for now. This video will show you the steps to making really simple paper fish on popsicle sticks, a sort of stick puppet. Perfect for the young ones. You'll need:

How To: Make a simple paper chicken with your kids
Kids love chickens, even when they aren't on the dinner plates. That's why this crafty paper chicken project is perfect for them. Use this video to learn how to make the chicken out of paper, then show your kids how to do it. It could be an afternoon full of fun for them (and you). You'll need:
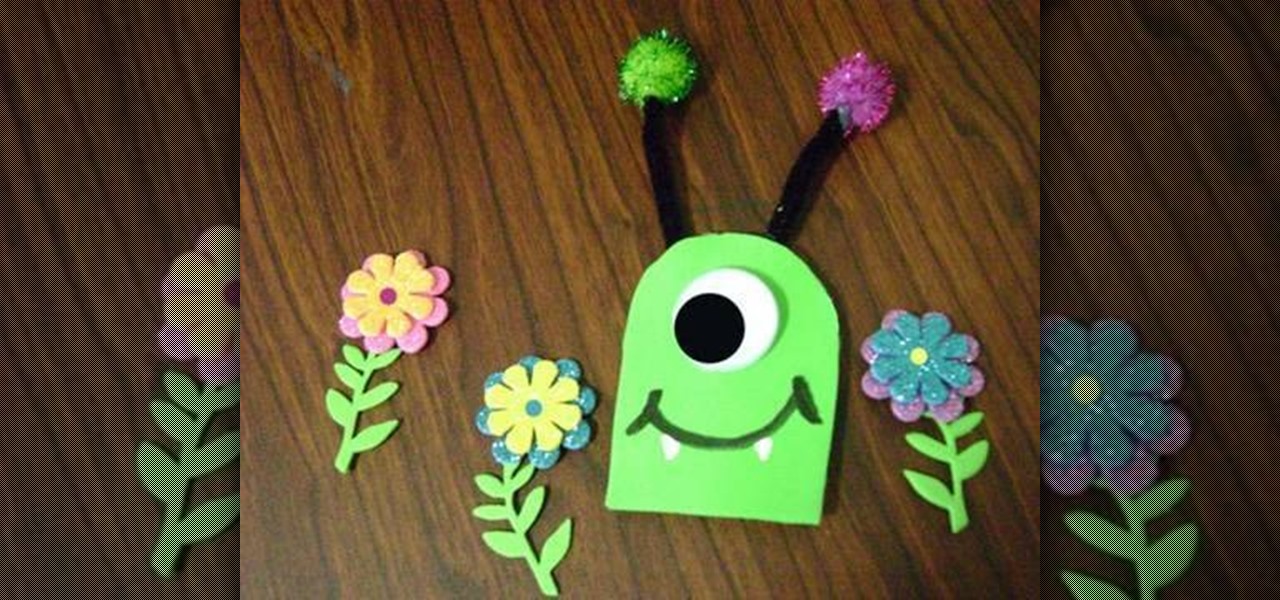
How To: Make a one-eyed friendly foam monster with the kids
Every kids loves monsters, and they'll love them even more when they can make their own. This crafty idea is perfect for pushing your children into creativity, because it evokes the inner demons of us all, and brings out highly imaginative properties. Have fun with your kids, teaching them how to make this one-eyed friendly foam monster. You'll need:
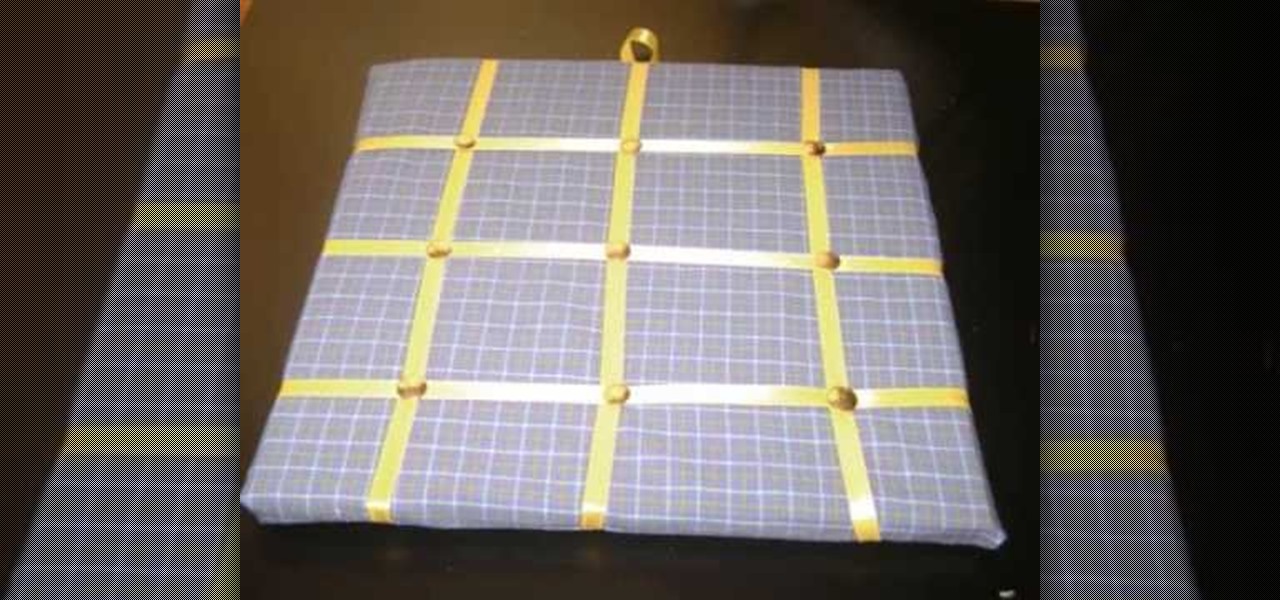
How To: Make a recycled notes organizer with your kids
This project may be more for you than your kids, but that doesn't mean your children won't have fun constructing this awesome crafts project! You can teach your kids about recycling, and build something wonderful and useful. A notes organizer is also a great idea for getting organized in life. To make this, you"ll need:

How To: Make a recycled doll's broom with your kids
Start teaching your children the art of recycling… and the art of crafting. Making this recycled doll's broom is perfect for any young girl who enjoys beauty and you figurines. A crafty broom will help Barbie learn responsibility, and teach your young ones about helping their environment out. This doll's broom is made from real evergreen leaves, along with a popsicle sticks and some tape. Easy!

How To: Make foam calla lily flowers with your kids
The calla lily is from the arum family, and is sometimes referred to as the wile calla. Also, sometimes the water arum. And these flowers can be made at home with the kids; a wonderful little crafts projects for developing creativity in your youngsters. To make these foam calla lilies, you'll need:
How To: Make foam violet flowers with your kids
Violets are great for any occasion, even when it comes to the kids. Creating homemade violet crafts is the perfect activity for you and your children. It's great for getting your kids into the creative world. This video will show you how to make foam violets with the kids. You'll need: